
What Causes Roller Marks and Streaks (and 9 Fixes)
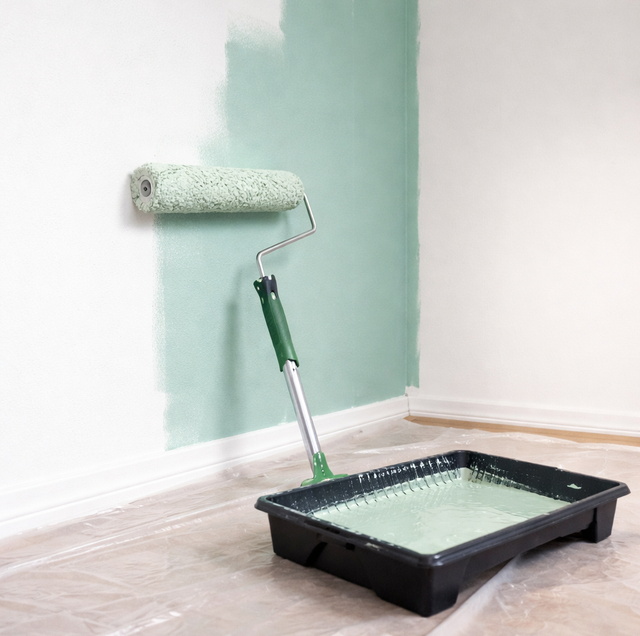
Quick Answer: Roller marks and streaks come from paint drying unevenly or being pushed around after it starts to set: a dried edge you rolled back into, an over- or under-loaded roller, the wrong nap, too much pressure, or skipping primer over patchy walls. The fixes are keeping a wet edge, loading evenly, matching nap to surface, laying off with light pressure, and priming porous spots.
You stepped back from a freshly rolled wall, the light shifted, and there they were: pale stripes down the middle, a darker seam where two passes met, faint tracks running the length of the roller. Roller marks feel like bad luck, but almost none of them are. They are a record of how the paint went on and how it dried, printed into the surface after the fact.
That is the useful part. Because roller marks come from application and drying, the fixes are not mysterious touch-up tricks. They are technique, tools, and product. Once you can name what caused a mark, you know which of the three to change.
What Roller Marks Actually Are
"Roller marks" is a catch-all for a few different flaws, and it helps to separate them because they have different causes.
Lap marks are the visible seams where one section of rolling met another. They show up as a darker or shinier band. They happen when the first pass had begun to dry before you rolled the next pass into it, so the fresh paint sat on top instead of blending in.
Streaks are lengthwise stripes of uneven coverage, usually thin, patchy runs where the wall shows through more in some lines than others. They point to an unevenly loaded roller or a coat spread too thin.
Stipple is the fine orange-peel texture the roller nap itself leaves. Some stipple is normal and even desirable, but heavy, inconsistent stipple reads as roughness.
Ridges, sometimes called tramlines, are the raised lines the ends of the roller leave when it is pressed too hard. The rim of the sleeve digs a bead of paint into the surface along each edge of the stroke.
Knowing which one you are looking at tells you where to aim. Now to the causes.
The Causes, One By One
A dried edge you rolled back into: Latex paint starts skinning over in minutes, faster in warm or moving air. If you roll a section, wander off to cut in a corner, then come back and roll the next section into the first, the earlier edge has already set. The new paint cannot melt into it, so it leaves a lap mark. This is the single most common source of a striped wall.
An overloaded or underloaded roller: Too much paint on the sleeve and it sheets on thick, sags, and drops fat ridges at the stroke edges. Too little and the roller drags, skips, and lays down thin streaks that let the wall telegraph through. Both extremes fight you.
The wrong nap for the surface: Nap is the pile height of the roller cover. A short nap, roughly 3/8 inch, is built for smooth drywall and gives the flattest finish. A longer nap, half an inch or more, is for texture, block, and stucco because it reaches into the low spots. Put a long nap on smooth drywall, and it dumps too much paint and heavy stipple. Put a short nap on texture, and it bridges the surface, leaving hollows unpainted. A mismatch here reads as streaks or blotchy coverage no matter how careful your stroke is.
Pressing too hard: A roller should glide. When you bear down to squeeze the last paint out of a nearly dry sleeve, the metal end caps of the frame press the sleeve rim into the wall and leave those raised tramlines. Hard pressure also forces paint into the surface unevenly, which shows once the sheen sets.
Not back-rolling: Back-rolling means making a final light pass in one direction over what you just applied, without reloading. It evens out the film and settles the stipple into one consistent pattern. Skip it, and every random direction your roller traveled stays visible as the paint dries.
Paint that levels poorly: Leveling is a paint's ability to flow out flat and erase its own application marks before it sets. Budget wall paints often carry less of the resin and additives that help this, so brush and roller texture freezes in place. A better-leveling paint quietly hides small technique errors that a thin, cheap paint puts on display.
Skipping primer over patchy or porous walls: When a wall has spots of bare drywall, joint compound from patching, and old painted areas side by side, each drinks paint at a different rate. The porous patches suck the binder down and dry duller; the sealed areas hold it on top and dry shinier. The result is called flashing: ghostly patches in the finish that no number of topcoats fully hides. Primer, or a self-priming approach on new compound, equalizes the surface so the color dries uniformly.
Rolling in poor light: You cannot fix a flaw you cannot see. Working in flat, even room light lets thin spots and missed lines, sometimes called holidays, hide until the paint dries and a lamp or window rakes across them at an angle. By then the coat has set.
Drying too fast: Heat, direct sun on the wall, and a fan or open breeze all pull the surface dry before you can blend the next pass. Fast drying is what turns an ordinary wet edge into a lap mark and what stops a coat from leveling. This is a condition problem, not a technique problem, and it is why the same person can roll a flawless wall one day and a streaky one the next.
The Fixes
Every fix below maps back to a cause above, so you are changing technique, tools, or product on purpose rather than hoping.
Keep a wet edge and work in sections: Roll in a manageable area at a time, often a strip about three feet wide from ceiling to floor, and always start each new pass into the still-wet edge of the last. On a big wall, cut in and roll the same zone together so the brushed edge and the rolled field blend while both are wet. A helper who cuts in just ahead of the roller keeps that edge alive across a whole room.
Load the roller evenly, then stop overworking it: Roll the sleeve in the tray until it is saturated but not dripping, spinning it against the ramp so paint works all the way around. Lay the paint on the wall first, then spread it. Once the section is covered, resist the urge to keep passing over it. Overworking a setting coat is what drags marks back in.
Match the nap and use a quality cover: Use a 3/8 inch nap on smooth drywall, a half-inch on light texture, and a longer pile only for heavy texture, block, or stucco. A well-made cover with a good core sheds less lint and holds a more even load than a bargain sleeve, which shows in the finish.
Apply in a W or M, then lay off in one direction: Lay the loaded paint on in a loose W or M shape to distribute it, fill in without lifting the roller off the wall, then finish with light, ceiling-to-floor lay-off strokes in a single direction. That final light pass is your back-roll, and light pressure is the whole point: let the sleeve, not your arm, do the work.
Two thin coats, not one thick one: A single heavy coat sags, ridges, and dries unevenly. Two thin coats level better, hide better, and give a far more uniform sheen. Let the first fully dry to recoat per the label before starting the second.
Prime porous and patched walls: Spot-prime or fully prime bare drywall, skim-coated repairs, and any wall where patches and old paint meet. Priming evens the porosity so the finish coat dries to one consistent color and sheen, which is what kills flashing.
Give yourself real light: Set up a work light and move it as you go so it rakes across the wall at an angle, the same way a lamp will once the room is furnished. Catching a holiday while the paint is still wet means you fix it in seconds instead of recoating later.
Control how fast the room dries: Keep direct sun and fans off the wall you are rolling, and paint in moderate conditions rather than a hot, breezy room. Slower drying gives the paint time to level and gives you time to keep that wet edge. Do run gentle general ventilation for fumes, just not a draft aimed at fresh paint.
A good roller job is less like painting a picture and more like pouring a level floor: the material wants to find its own flat surface, and your job is mostly to not interrupt it while it does. Give the paint an even load, a wet edge, and calm drying conditions, and it settles smooth on its own.
A note on safety while you chase a flawless finish. Keep the room ventilated for fumes. Ladders and step stools put you at height, so set them on level footing and do not overreach.
Frequently Asked Questions
Sometimes, and it depends on the flaw. Light lap marks and streaks usually disappear under one more full, evenly rolled coat, wet edge maintained, rather than a spot touch-up, because a patch will flash against the surrounding sheen. Raised ridges or heavy stipple need a light sanding with fine paper once the paint is fully cured, then a wiped-down recoat. A single dab over a dried mark almost always shows.
Yes, and it is worth planning around. Flat and matte finishes scatter light and hide application marks well, which is why they are forgiving on large walls and older surfaces. Satin, eggshell, semi-gloss, and gloss reflect light, so every lap mark, ridge, and thin spot stands out. On a shinier sheen, wet-edge discipline and back-rolling matter far more.
Cut in the corners and edges with a brush first, then roll the flat field right up to that brushed band while it is still wet so the two blend. The mistake that leaves a picture-frame outline is letting the brushed edge dry before the roller reaches it. A three-inch angled sash brush for cutting in and a mini roller for tight spots keep the textures close enough to disappear into each other.
That is raking light, and it is not always a paint failure. Light striking a wall at a low angle exaggerates any texture difference, so minor stipple variation that is invisible head-on shows up near windows and wall-washing fixtures. If the streaks track your roller passes, it is a lay-off or wet-edge issue. If they follow taped drywall seams instead, the wall itself needs a skim coat and primer, not just another color coat.
For latex paint, a small amount of a paint conditioner made for the job can extend the open time so the coat levels and the wet edge lasts longer, which helps in a warm, fast-drying room. Follow the product's dosage rather than eyeballing it, and never just splash in water, since over-thinning weakens coverage and makes streaking worse, not better. Read the paint label first, because some formulas are not meant to be thinned at all.
The final lay-off direction matters more than the fill direction. Distribute the paint however covers the section, but always finish with light strokes running the same way, top to bottom on walls, so the settled stipple lines up in one consistent pattern. Mixed final directions leave a crosshatched look that catches light from every angle.
Skip the streaks and get walls that dry flawless the first time — a seasoned crew reads your surface and dials in the right nap, primer, and technique. Vinicio Painting serves Doral, Coral Gables, and Miami. Call (866) 444-1226.
